
Monitoring Namecheap DNS
Monitoring your Namecheap DNS records automatically is made easy with ZoneWatcher. After you've added your account credentials, we will automatically import all of your domains and begin monitoring them for changes.
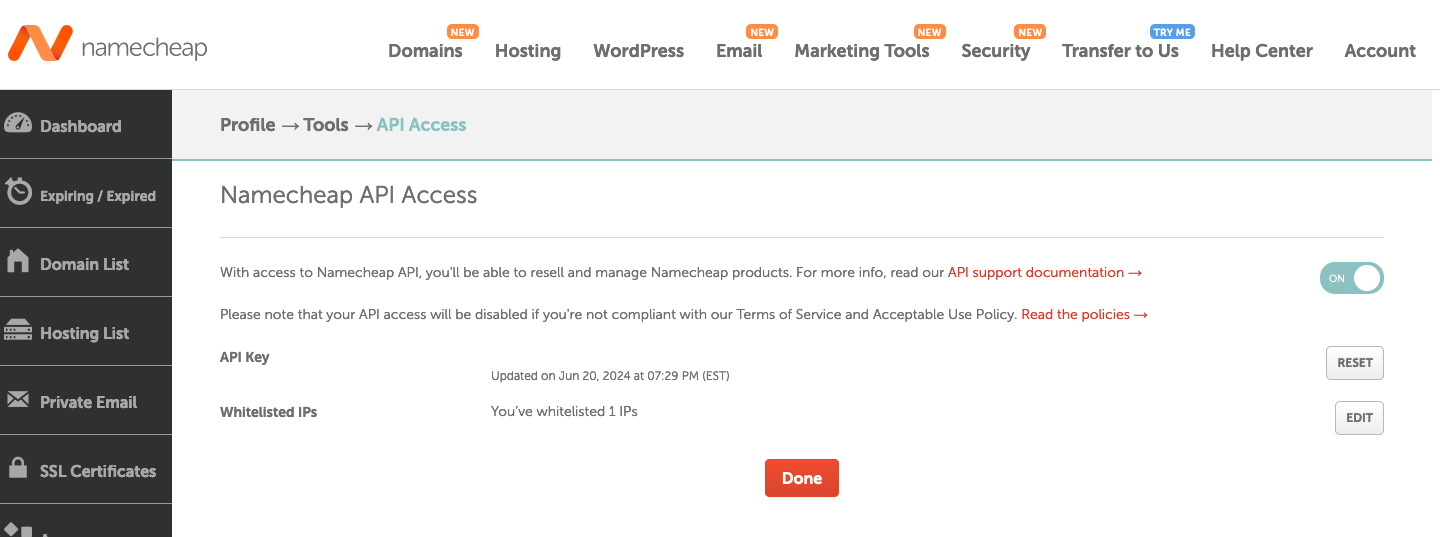
Generating your Namecheap API Token
To get started adding your Namecheap account, you'll first want to retrieve your API token on Namecheap's dashboard. We use this token to automatically fetch the domains and associated DNS records.
You can find a full getting started tutorial on Namecheap's website here.
Setup Note
Namecheap requires your account meet one of the following requirements to enable API access:
- have at least 20 domains under your account;
- have at least $50 on your account balance;
- have at least $50 spent within the last 2 years.
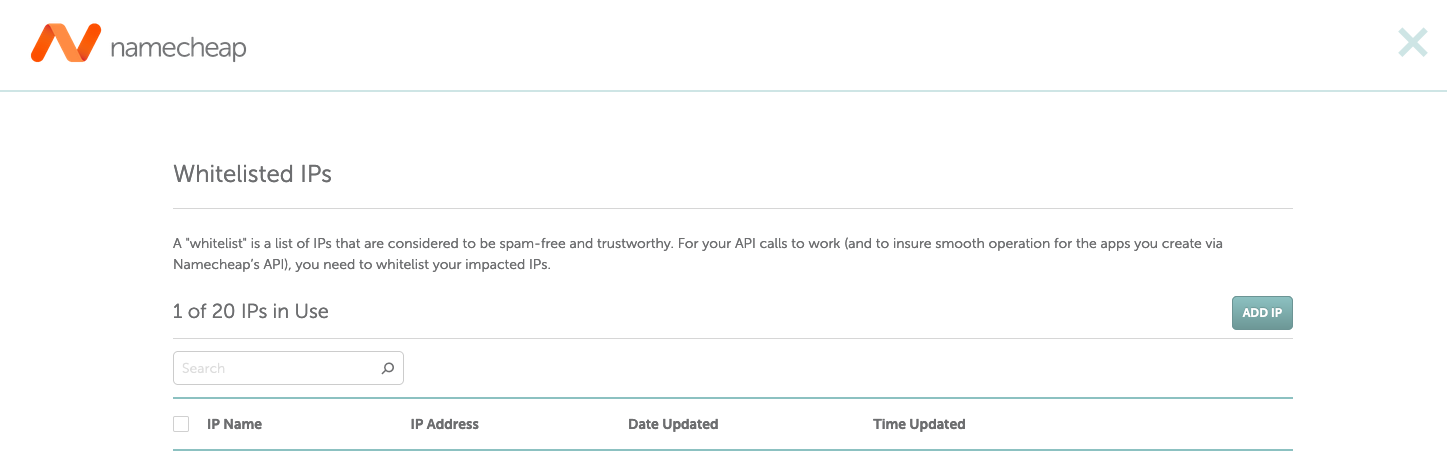
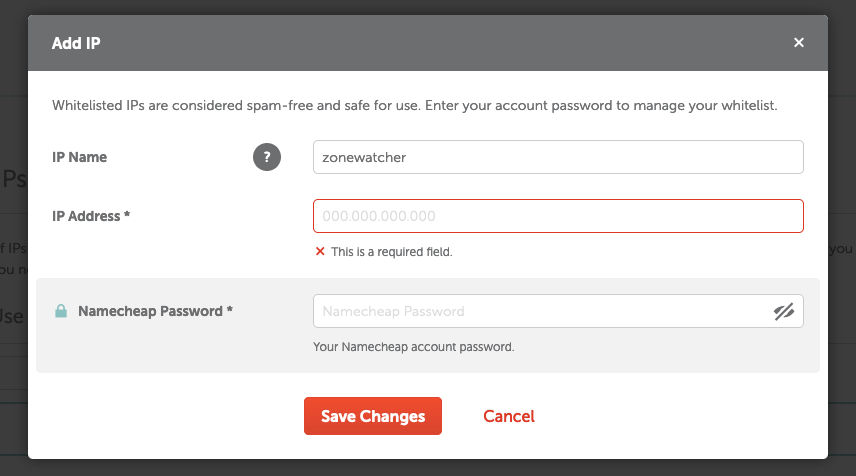
Whitelisting ZoneWatcher to use the API
After you've generated your API token, you'll need to whitelist ZoneWatcher's IP addresses to allow us to access your account. You can do this by adding the following IP addresses to your whitelist:
-
178.156.163.167/32 -
2a01:4ff:f0:4794::/64 -
5.161.228.189/32 -
2a01:4ff:f0:3578::/64 -
178.156.172.40/32 -
2a01:4ff:f0:e4f0::/64 -
178.156.157.59/32 -
2a01:4ff:f0:9dec::/64 -
178.156.141.243/32 -
2a01:4ff:f0:a3af::/64
You can find a full getting started tutorial on Namecheap's website here.
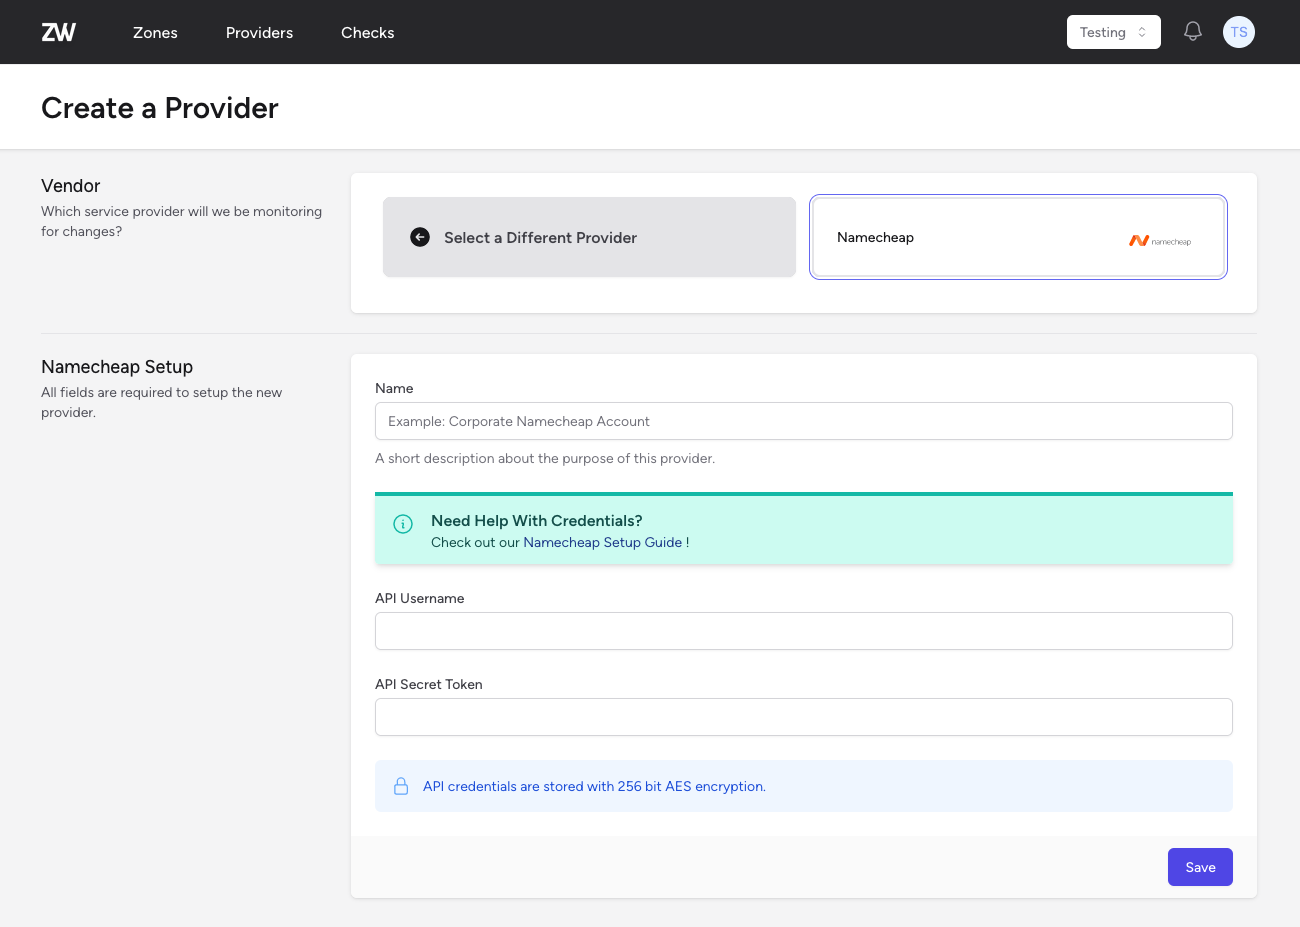
Creating your Namecheap DNS Provider
Once you've retrieved your API token, you can create your new Namecheap DNS provider on ZoneWatcher by giving it a descriptive name and pasting the token into the API token field.
Monitoring Your Zones
After you've created your Namecheap DNS provider, we will sync all the zones associated with your account and their associated DNS records. You'll be able to view them from either the Provider's page or the Zone Dashboard.